The Ultimate Guide to Selecting Bathroom Partitions: A Step-by-Step Buyer's Blueprint
When a commercial restroom project goes sideways — wrong dimensions, non-compliant ADA layout, cracked tile from a botched install — the costs add up fast and the mistakes are nearly impossible to reverse. This 12-step blueprint walks contractors, facility managers, and architects through every decision that matters before you cut a PO.
Understand the
The U.S. bathroom partition market has a surprisingly small manufacturer base — Bobrick, Bradley, ASI Global Partitions, Hadrian, Scranton Products, AAMCO, Metpar, and a handful of others. Each has different strengths, lead times, and material specialties.
Work with a multi-manufacturer distributor rather than a single-brand dealer. Distributors give you better pricing leverage and can match the project to whichever factory is best positioned for your material, color, and timeline. A single-brand dealer can only sell what they carry — even if it isn't the right fit.
Choose the Right
Match the substrate to the environment. Humidity, traffic, vandalism, and budget all push the decision in different directions.
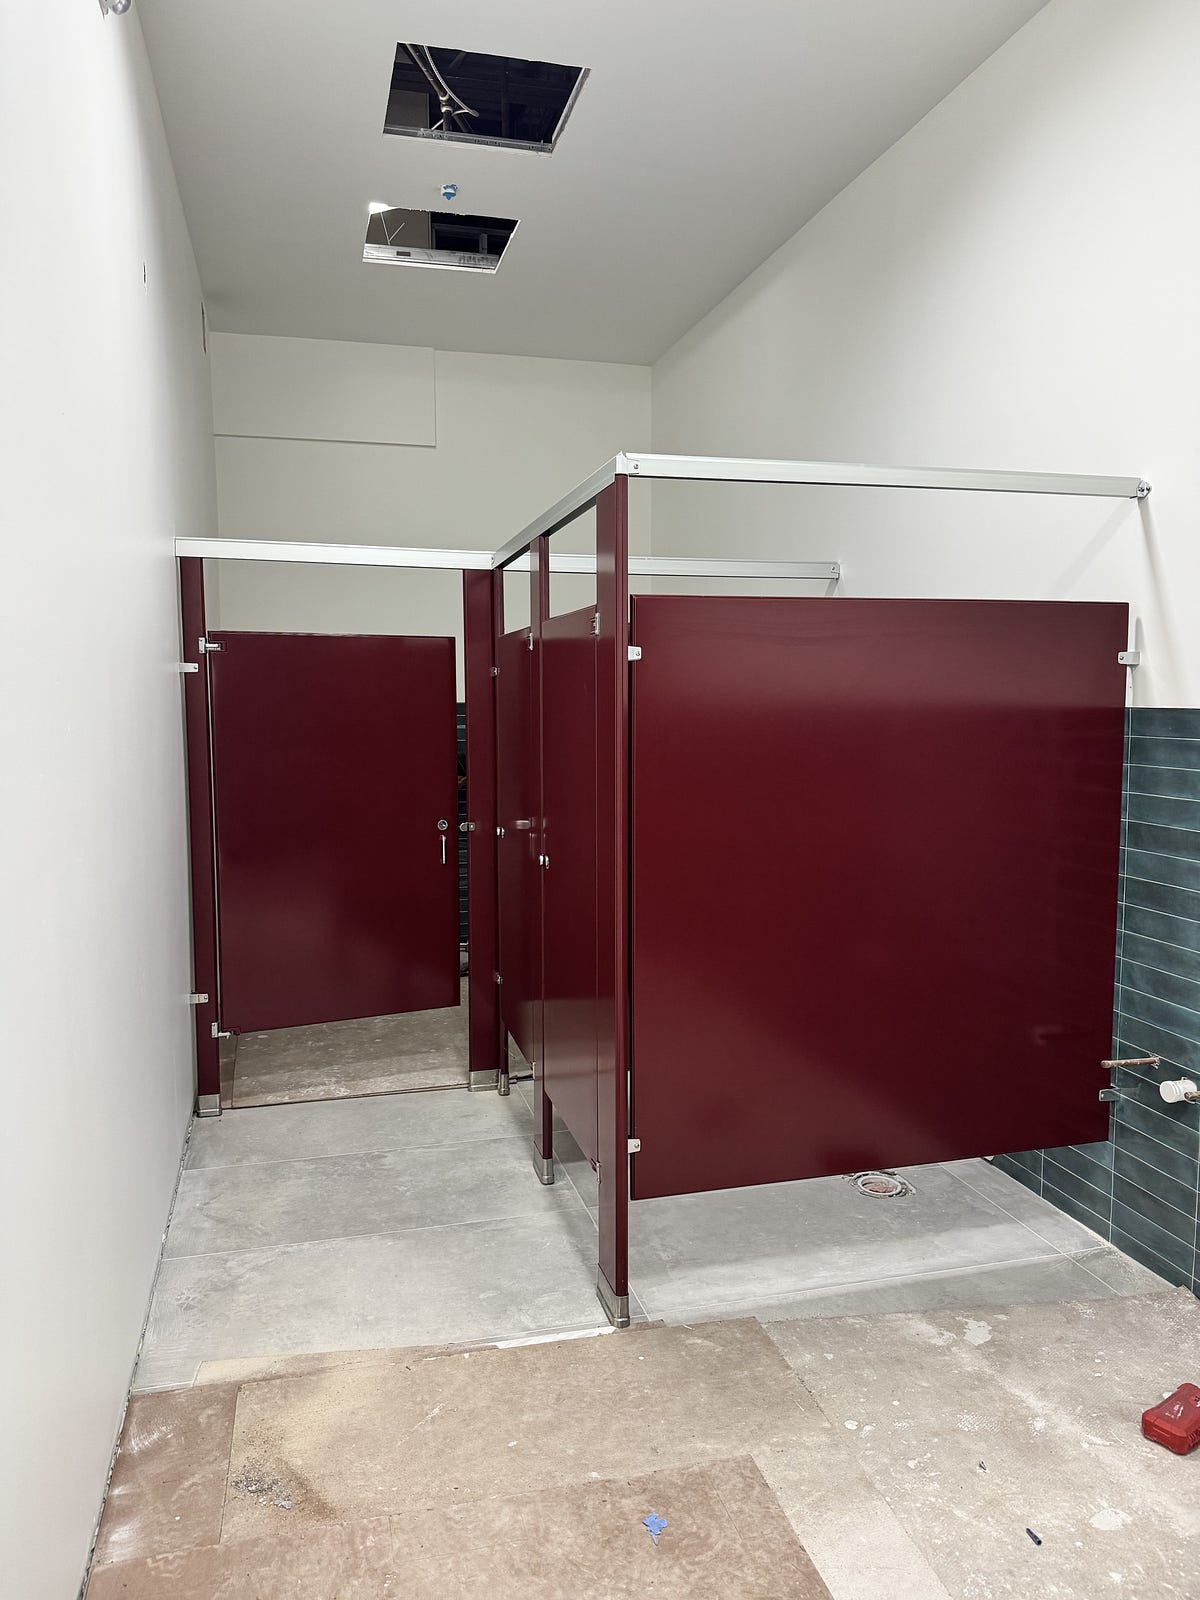
Powder Coated Steel
Most popularThe most widely-used option in commercial restrooms — competitive pricing and the broadest color palette. Quality versions use galvannealed steel substrates for superior corrosion resistance.
Best for: Offices, retail, schools, and most general commercial use
Material details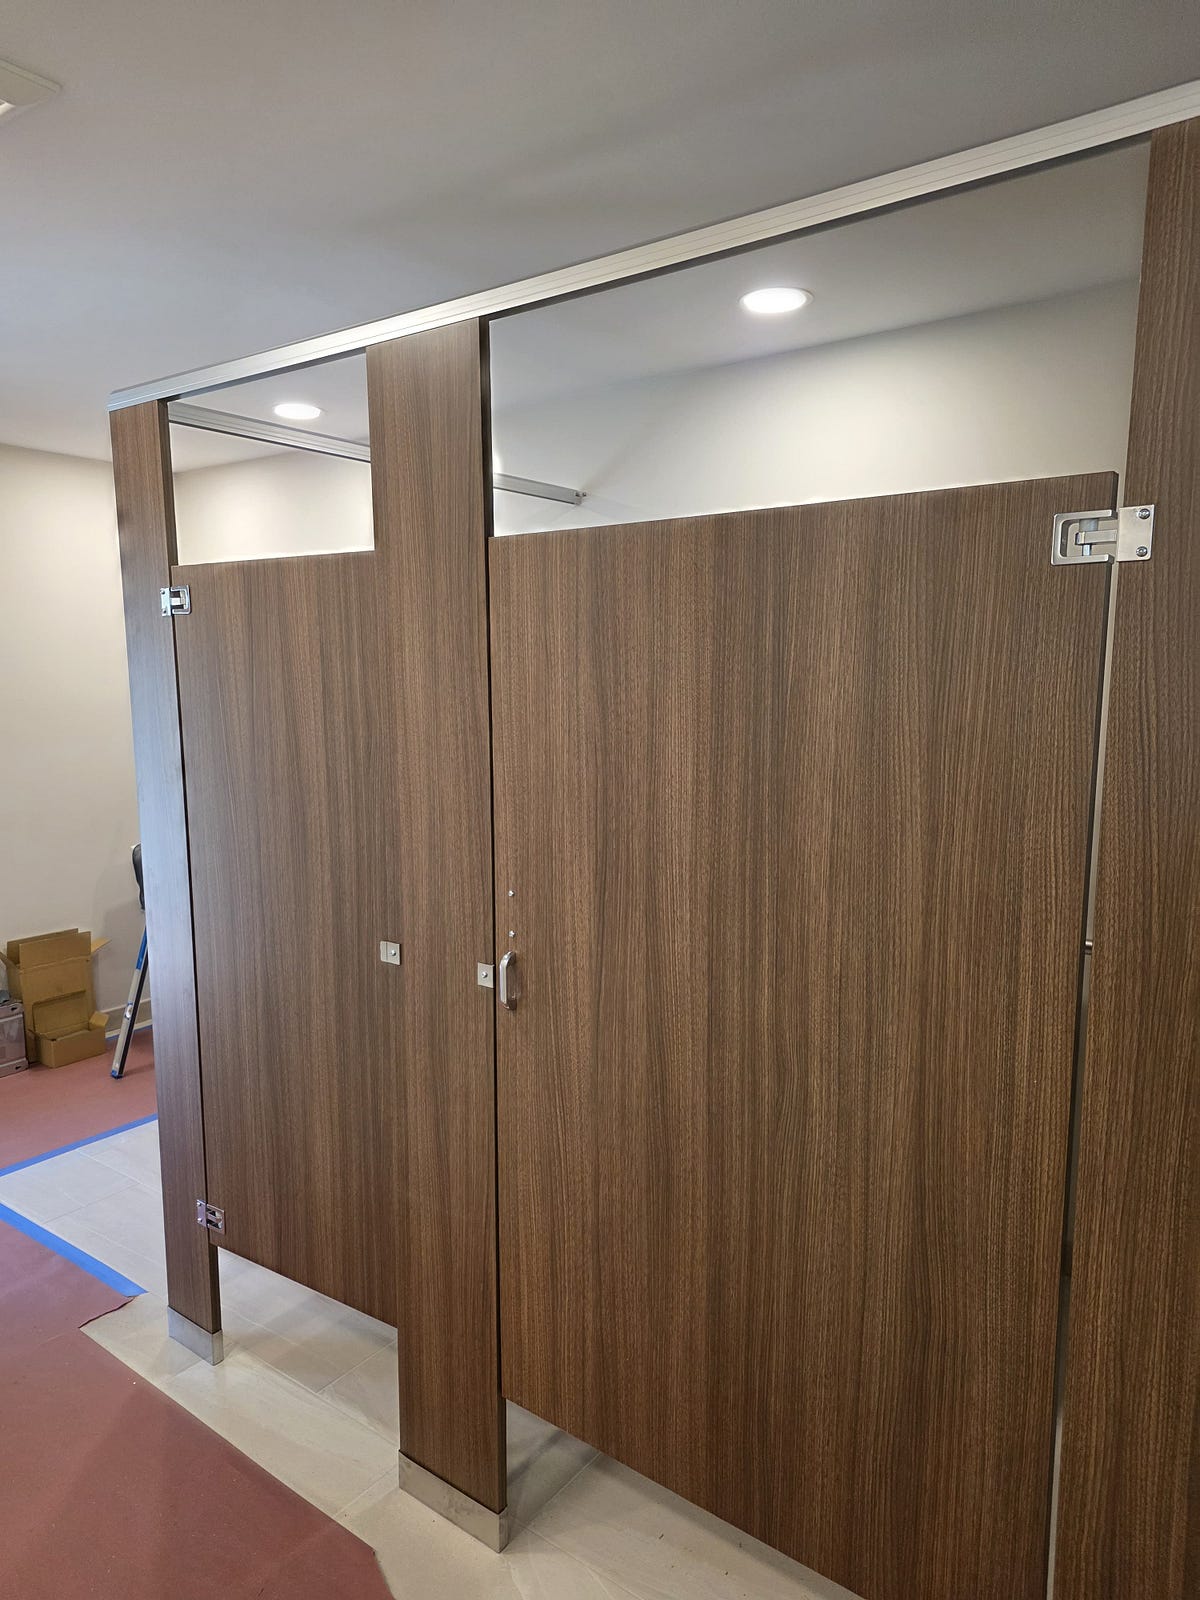
Plastic Laminate
Upscale aestheticsProvides upscale aesthetics at mid-range pricing but performs poorly in humid environments. Best suited for controlled-humidity office spaces.
Best for: Corporate offices, controlled-humidity interiors
Material details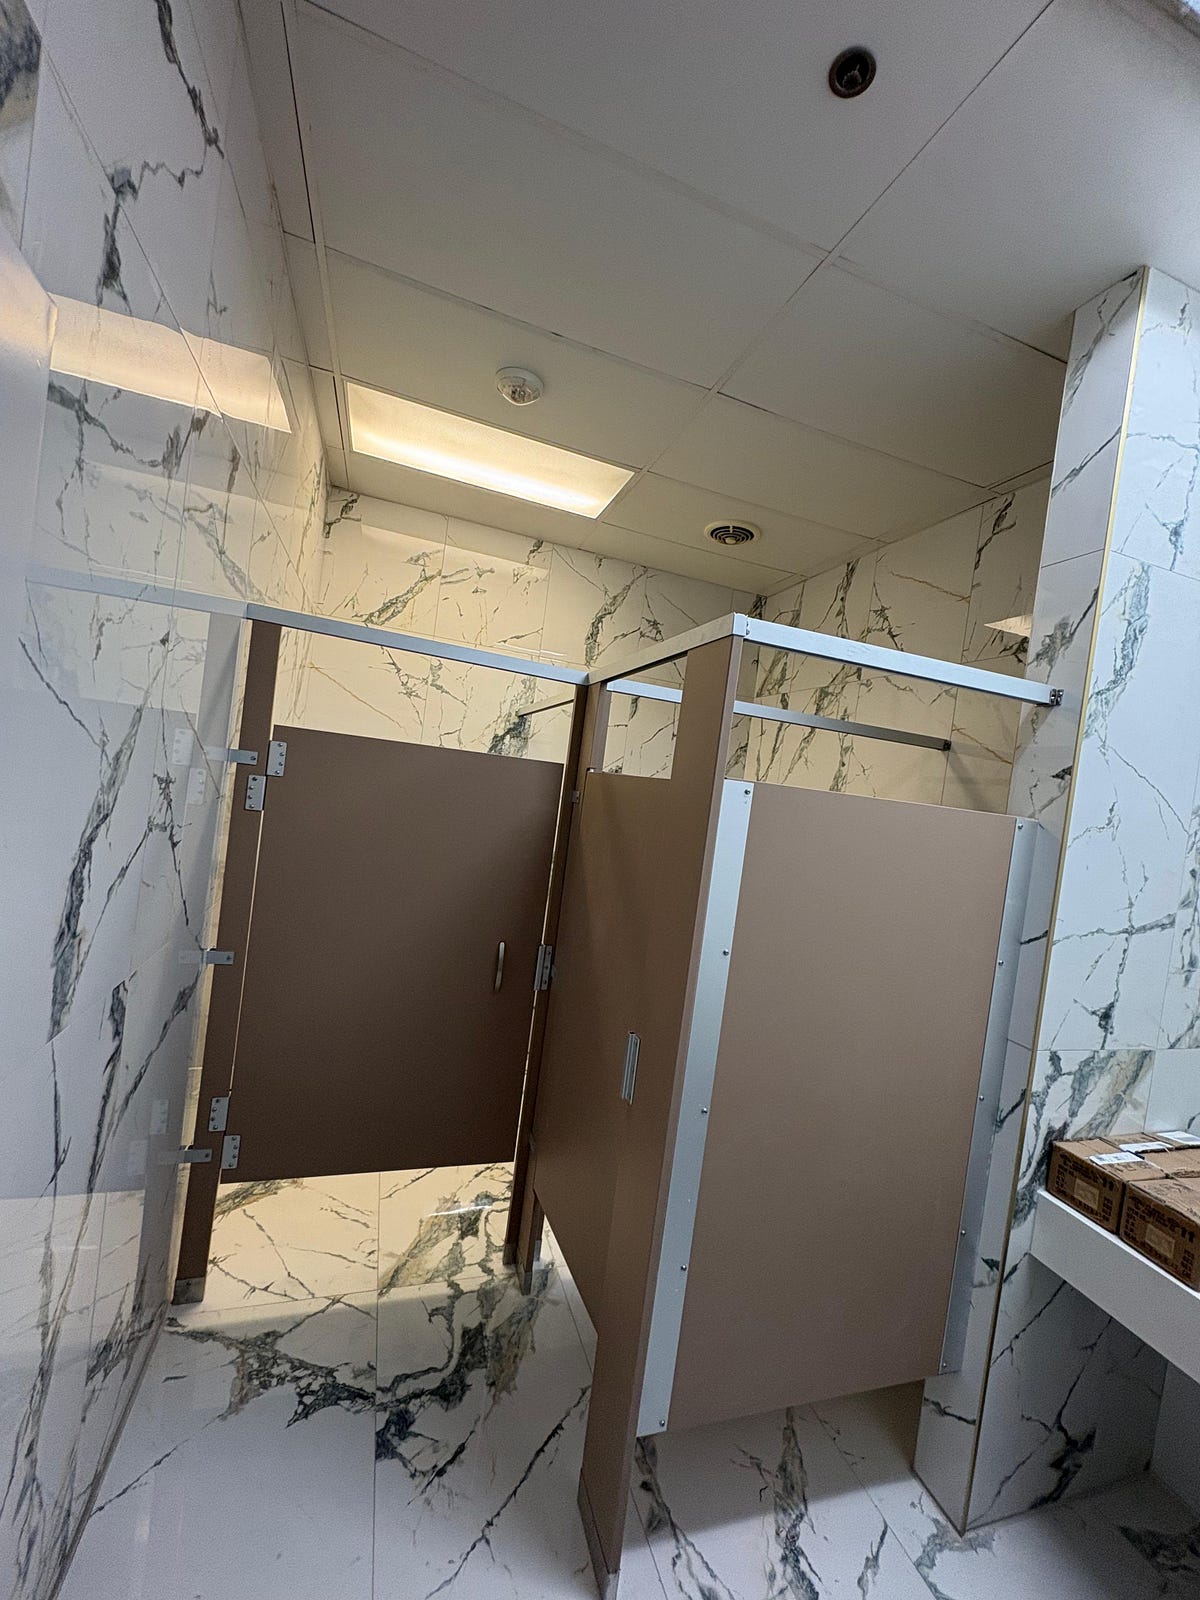
Solid Plastic (HDPE)
Heavy-dutyFully waterproof and graffiti-resistant — ideal for schools, parks, and high-traffic public facilities. Premium pricing reflects durability in harsh conditions.
Best for: Schools, stadiums, parks, airports, locker rooms
Material details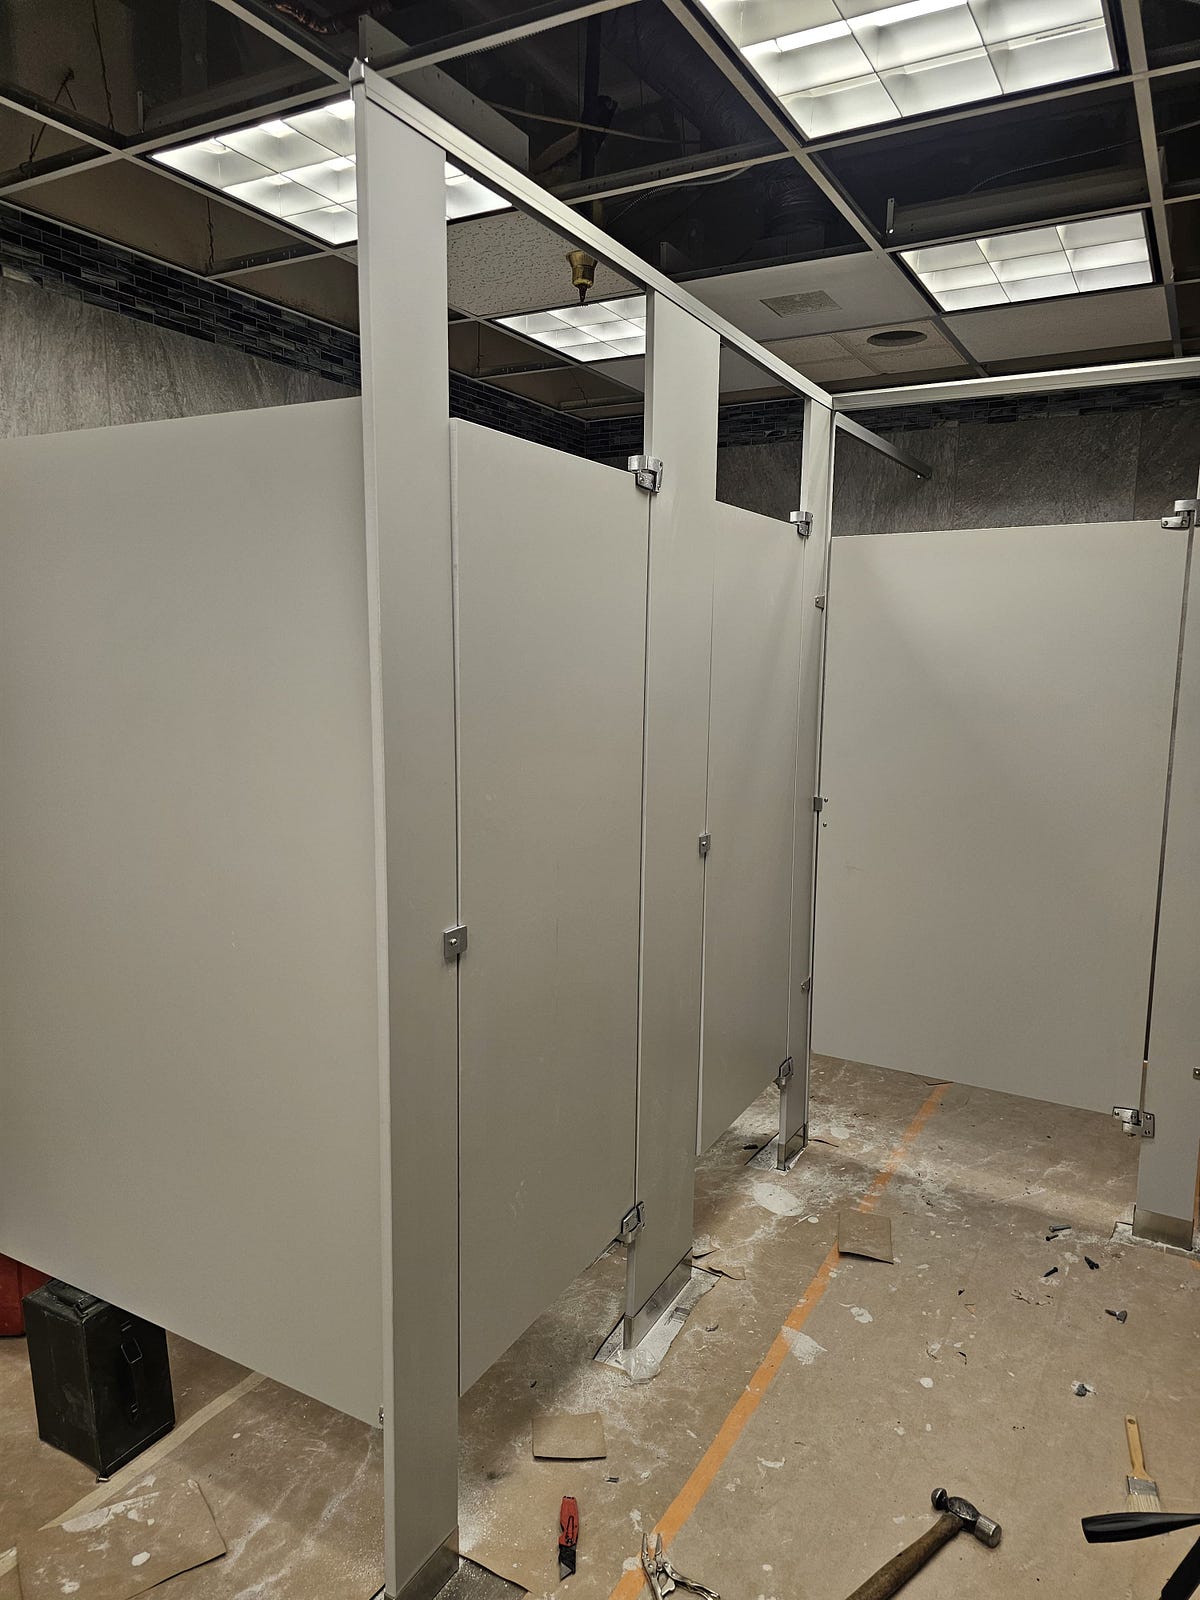
Phenolic
PremiumDense, moisture-resistant panels with a premium appearance. Specified for corporate headquarters and healthcare settings at the highest price points.
Best for: Healthcare, corporate HQs, pools, showers
Material details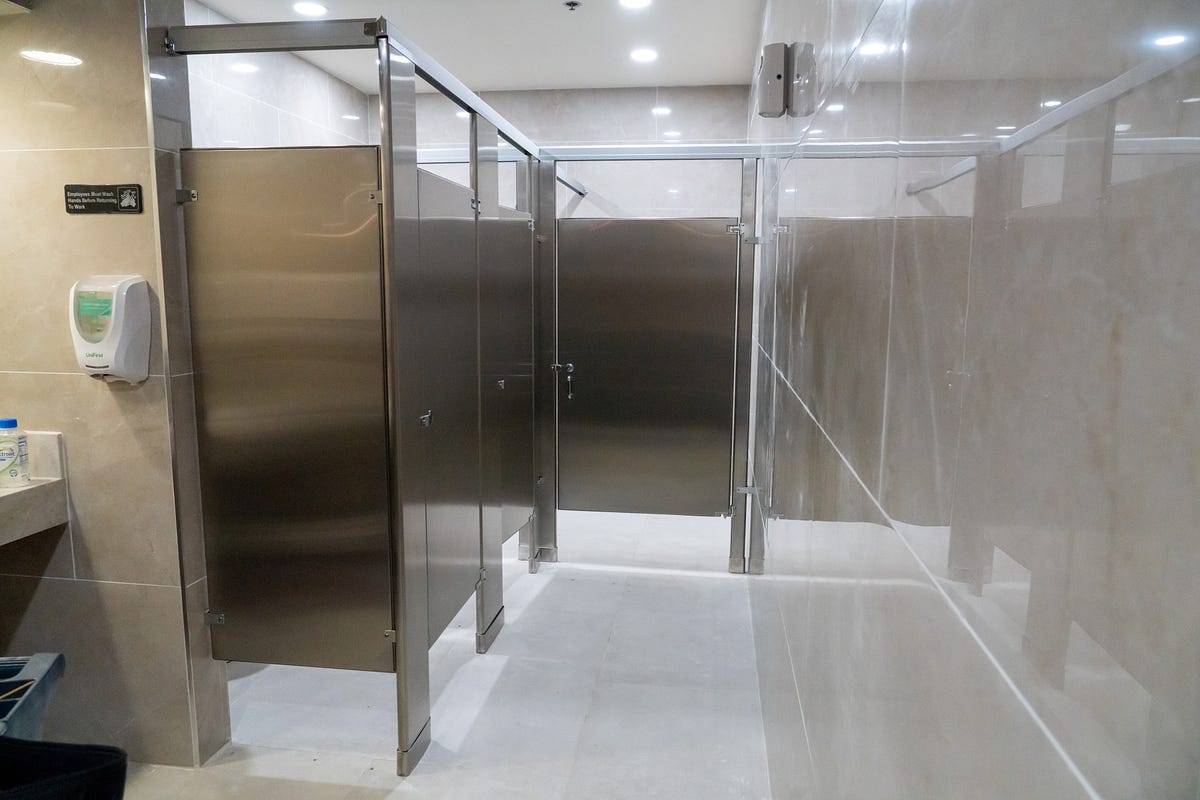
Stainless Steel
SanitaryNon-porous and easily sanitized — commonly specified for food service and medical facilities. Consider fingerprinting on brushed finishes when planning the look.
Best for: Food service, medical, commercial kitchens
Material detailsPick a Layout &
Alcove layouts place stalls inside three enclosing walls — common in renovations where wall-to-wall measurements need to be precise. Standard (inline) layouts have an open end with a terminating pilaster, and require at least one stall to be 60" wide for ADA compliance.
Use a 3D tool early
Visualize the layout, adjust dimensions, and get instant pricing before requesting a formal quote. It catches problems while changes are still free.
Try the 3D designerMeasure
Shop Drawings &
A professional shop drawing shows a scaled floor plan with labeled panel widths, door locations, ADA compartment identification, and material specifications. It is the single most important document for preventing ordering errors. Never approve an order without one.
Then request quotes from distributors with access to multiple manufacturers. Verify freight inclusion, lead times, and which manufacturer's product the price is built on. Two quotes for "phenolic partitions" can be from very different factories with very different lead times.
Select a
Confirm
- Minimum 60" compartment width for the ADA stall
- Door swings outward (not into the compartment)
- 32" clear door width with lever-style hardware
- Adequate maneuvering clearance in front of the compartment
- Grab bar blocking installed during framing — never an afterthought
Skipping grab bar blocking is one of the most expensive mistakes on a commercial restroom — retrofitting it after tile is in place often means demolishing finished walls.
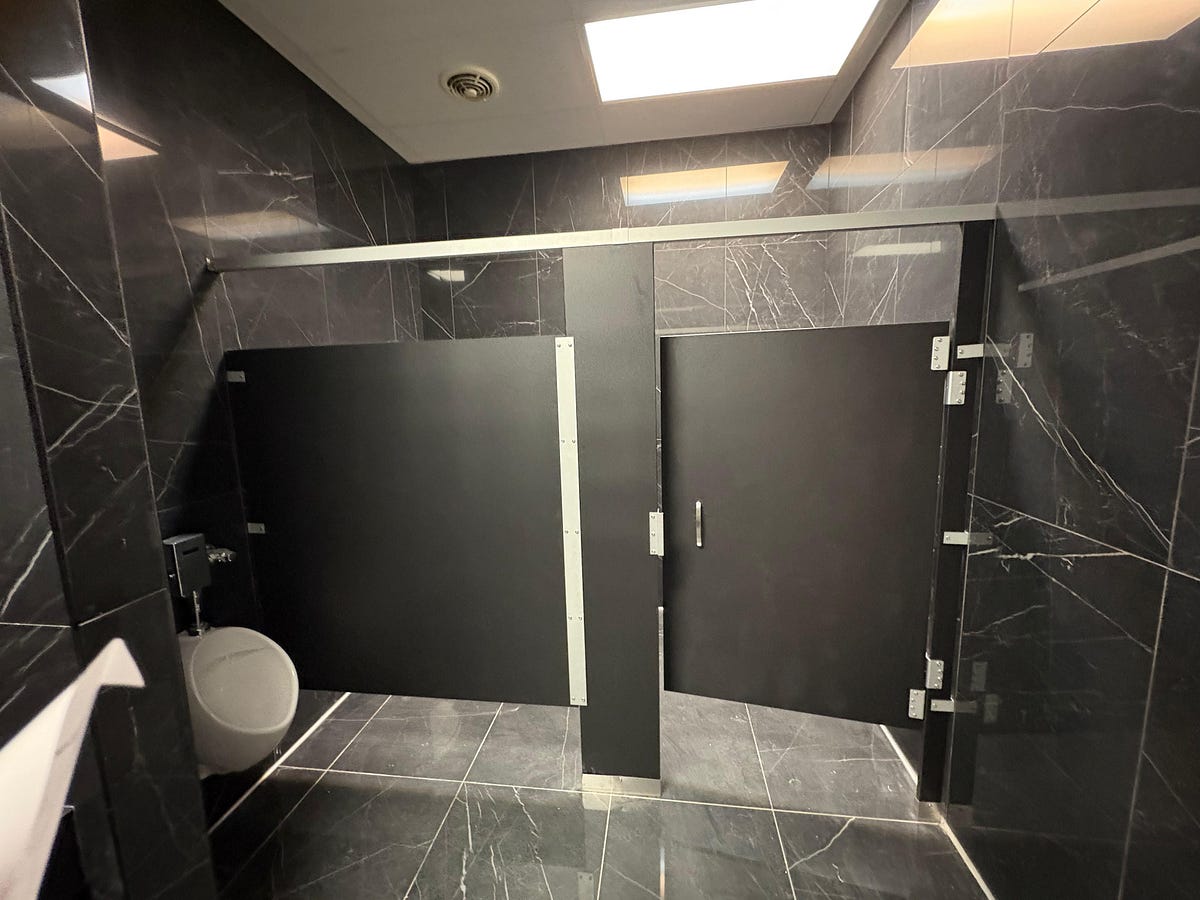
Privacy &
Extended-height panels (72"–96") dramatically reduce visibility over the top of the stall. Continuous hinge-side brackets and door fillers close the standard sightline gaps along the door edges. These three small upgrades change how a restroom feels — without changing the basic layout.
Modern manufacturers offer extensive powder-coat palettes and solid-color options across alternative materials. Coordinate with the surrounding finishes — partitions are one of the largest visual surfaces in any restroom.
Plan the
Finding qualified installers is genuinely hard. Division 10 specialty contractors have direct partition experience and should always be the first call. Experienced finish carpenters are a viable second choice.
Installation errors — drilling into tile, misaligned anchors, over-torqued brackets — create expensive damage that requires professional remediation. The few hundred dollars saved on a cheap installer almost always becomes a few thousand spent fixing what they broke.
The Blueprint, in
Successful bathroom partition projects require coordinated attention across manufacturer selection, material specification, accurate measurements, ADA compliance, and qualified installation. Working with a knowledgeable distributor early — before measurements, before quotes, before drawings — significantly reduces the risk of costly errors and project delays.
Build Smart
Skip the guesswork — get a real partition quote in minutes.
We pull pricing from every major U.S. partition factory and match the right one to your project.